The time has come for the heir to the Kale Throne to share to his loyal followers how they can grow their very own kale!
I know you all love kale, and purchase it regularly… but did you ever consider growing your own from the seeds?!
Whether you are an experienced vegetable gardener or just a hopeful beginner, today’s article will take you through a step by step process on how to grow your very own kale from seed to full grown vegetable.
Why Kale?
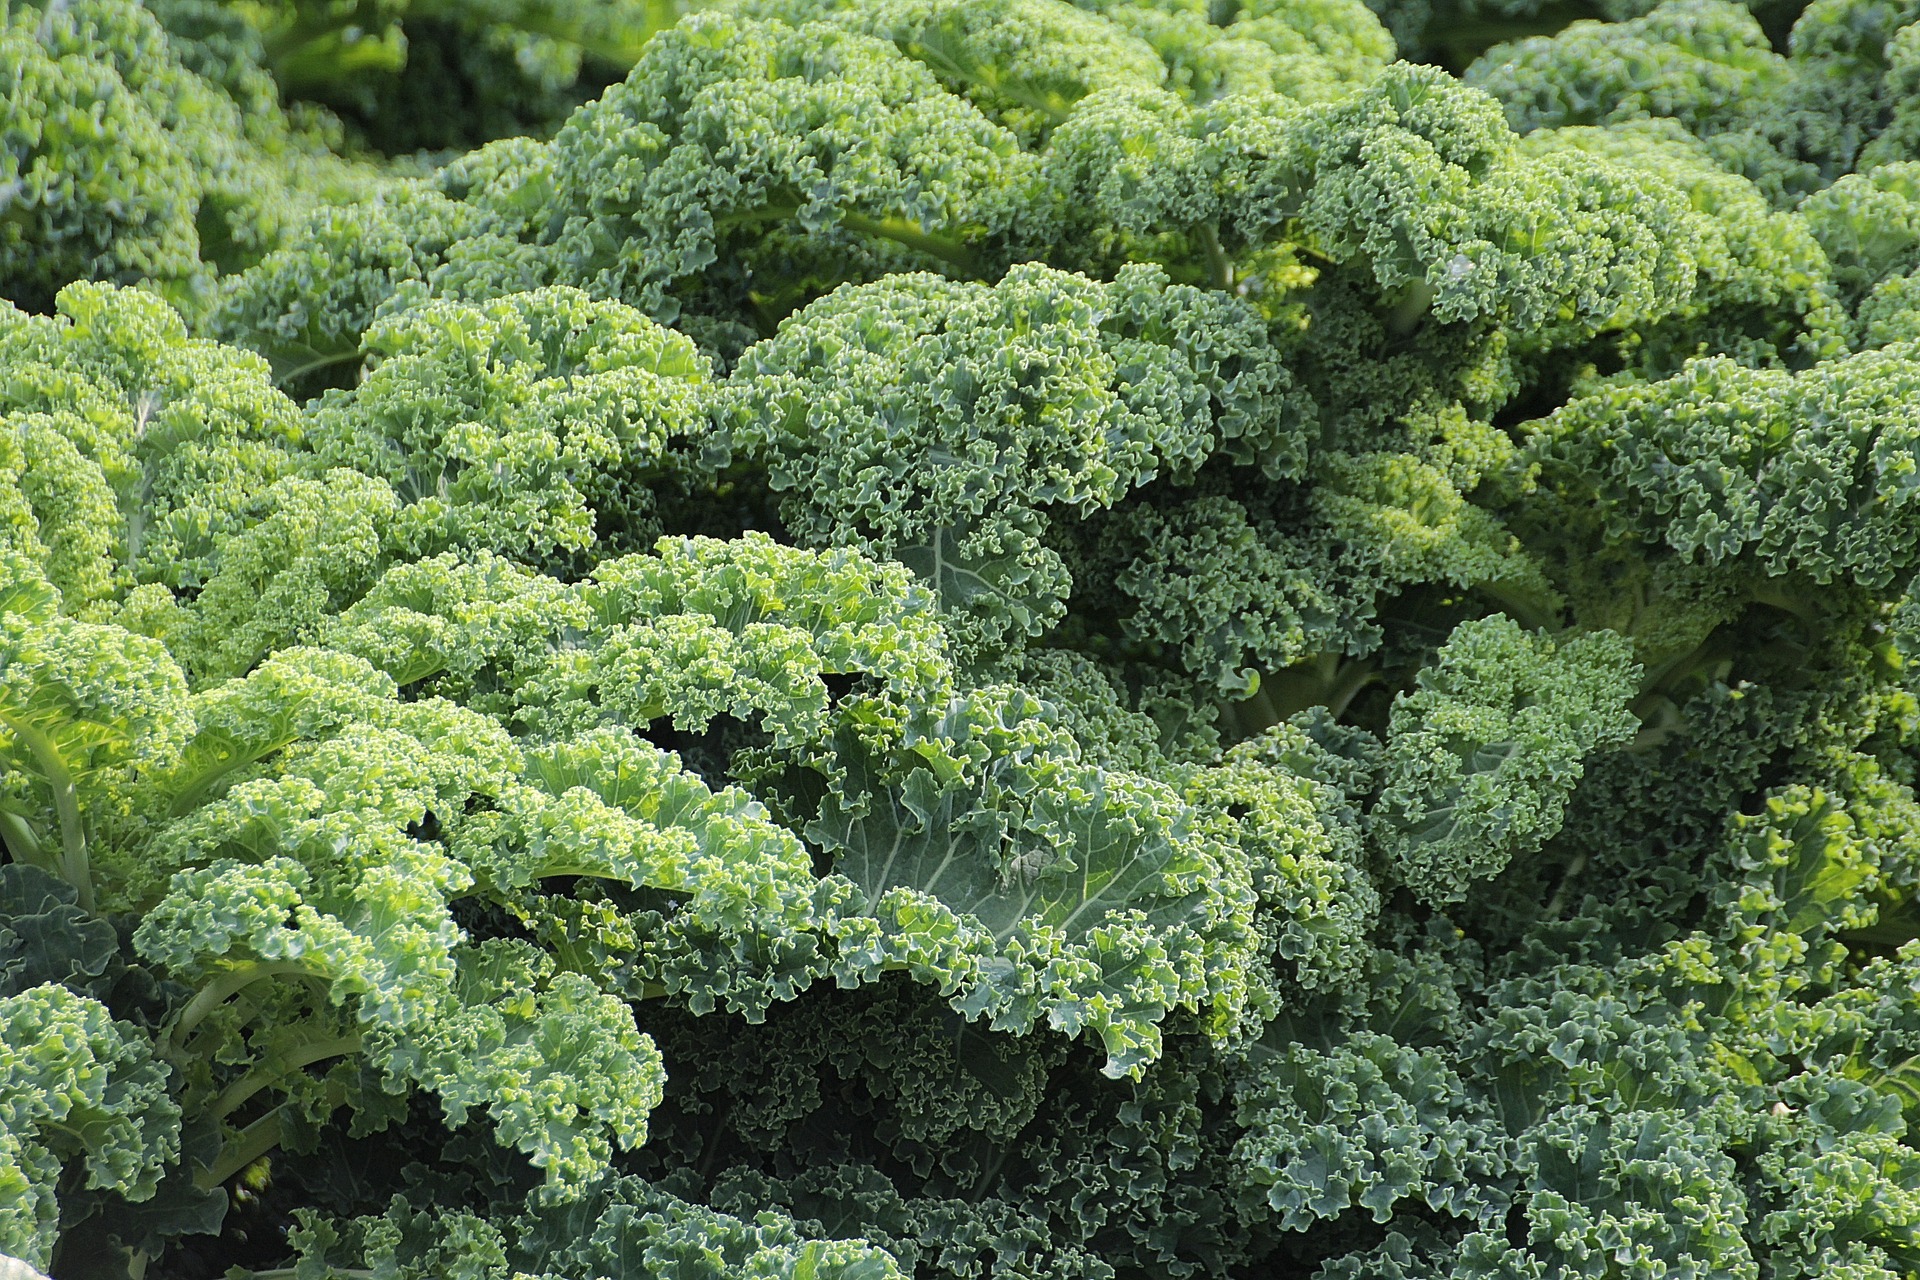
Kale is probably the trendiest and most well recognized vegetable of the last several years.
It is bold, flavourful, incredibly versatile and just a truly healthy, nutrient dense choice that tastes as good raw as it does cooked.
Most importantly though, it happens to be my personal favourite vegetable and those who follow me on social media will be no stranger to that.
Not only do I consume kale every single day, but I also own numerous kale-themed socks and shirts.
But I digress; the goal of today’s article is not to divulge my love affair for kale but rather to teach you how to start your own.
Growing Your Own Kale From Seed To Harvest
Step 1: Choose the variety you and to grow and purchase the seeds.
Not sure where to start? Check out a local Toronto seed dispensary or home garden center to learn more about the varieties available to you and purchase your seeds.
Step 2: Purchase a seed tray, soil and sow the seed
In order to grow Kale in the city of Toronto you will need to first sow the seed indoors for 4-6 weeks
You will want to start this process around mid June ( in other words, soon!) in order to harvest at the start of Fall.
In order to accommodate the growth of your seeds, you will need a seed tray and soil that is both slightly acidic ( pH 5.5-6.5) and high in organic matter.
If you don’t understand what those two things mean, don’t worry your local home garden shop expert will.
You will want to sow (aka plant) the seeds about 1.5 cm deep in the soil in rows that are spaced about 22 cm apart and keep the seed tray on a window sill that provides some natural light.
Learn more about starting seeds indoors.
Step 3: Care for the seedlings for 4-6 weeks
Water your seedlings without soaking them, keep the soil moist within the first inch of the soil.
Within 4-6 weeks about four leaves will have developed, at this point you will be transplanting the kale to your garden to be planted outside.
Step 4: Transfer your Kale outdoors!
Your Kale is all grown up by this point and ready to head to the great outdoors to finish growing up.
Here is some more advice for first timers transporting their seedlings.
Make sure you space your kale plants about 50-100 cm apart.
Kale can be planted in either partial shade or full sun, but more water will be required to keep the soil moist if sun exposure is high.
You will want to keep the soil moist and consider introducing compost or fertilizer throughout the growing season.
If you happen to be growing multiple things in your garden, keep in mind that:
Kale can be grown beside: beets, celery, cucumber, onions, rhubarb and herbs such as sage and dill.
You should not grow kale beside: tomato, peppers, chilli, capsicum, eggplant, strawberry or mustard
Step 5: Harvesting
This is the exciting part. All your hard work up until this point has paid off and you get to enjoy the fruits (or vegetables) of your labour.
If you’ve followed the timeline so far, your kale should be ready for harvest by the Fall.
If you would rather just harvest the baby greens, rather than the full grown vegetable, you can expect those to be ready to harvest sooner.
Kale is best harvested by removing the outer leaves and leaving the core of the plant as is to continue growing.
Fun Fact: Kale can grow through the first light frost, and actually tastes better if harvested after doing so.
Final Thoughts
If you’ve always wanted to grow your own veggies from seed to harvest, this is your chance.
Sow your seeds now and you will be able to enjoy your very own home-grown kale salad before you know it.
Until next time,
Andy De Santis RD MPH
.